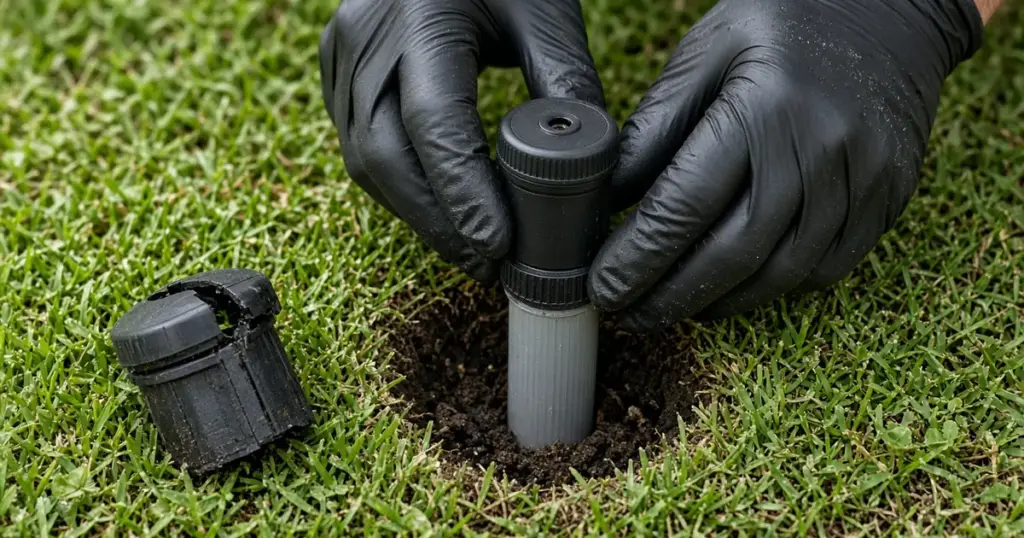
A broken sprinkler head is the most common irrigation repair, and it is one most homeowners can handle with a shovel, a replacement head, and half an hour. It is also a repair that goes wrong surprisingly often. The wrong head throws off the whole zone, a careless shovel cracks the pipe below, or dirt gets into the line and clogs every head downstream.
This walkthrough covers how to do it right, from identifying what you have to testing the finished repair, with notes for the sandy soils common in Huntsville, TX yards.
Confirm the Head Is Really the Problem
Before buying anything, make sure the head is what failed. Run the zone and look closely.
- Geysering or gushing from the head usually means a broken riser, cap, or body.
- Water bubbling up from the ground beside the head may be a broken fitting or swing joint below, not the head itself.
- A head that will not rise may just need cleaning; see sprinkler head won’t pop up first.
- Weak spray from one head is often a clogged nozzle or screen rather than a broken head.
If the head is cracked, snapped off, or the riser is broken, replacement is the fix.
Identify What You Have
Matching matters. A zone works best when every head in it applies water at a similar rate. Note:
- Type: Spray head, rotor, or rotary nozzle. Our existing comparison of spray heads, rotor heads, and rotary nozzles explains the differences.
- Brand and model: Usually printed on the cap.
- Pop-up height: Common spray heads come in several heights. Match the height to the others in the zone and to the turf.
- Nozzle: Spray nozzles are labeled with pattern and radius. Rotors have interchangeable nozzles rated by flow.
- Features: Pressure regulation or a built-in check valve.
If you can, take the broken head with you to the store, or photograph the cap and nozzle markings.
Tools and Materials
- Replacement head and nozzle to match
- Small shovel or trowel
- Bucket or tarp for soil
- Rag or plastic bag to cover the open pipe
- Teflon tape if the manufacturer recommends it for the threads
- Nozzle tool for rotors, if needed
Step-by-Step Replacement
1. Turn off the zone
Make sure the controller is not about to run the zone. Turn it off or set it to off mode while you work.
2. Dig carefully
Cut a circle of turf around the head, about a foot across, and lift it out in one piece if you can. Then dig down beside the head, not directly over the pipe. Local sandy soil caves easily, so set soil on a tarp or in a bucket and go slowly as you get near the fitting below the head.
3. Find the connection
Most heads connect to a swing joint, flexible funny pipe, or a riser. Expose enough of it to see the connection and to keep soil from falling in when you remove the head.
4. Unscrew the old head
Hold the fitting below steady and unscrew the head counterclockwise. If it is stuck, avoid wrenching hard on the pipe; you can crack a fitting or the lateral line. If the fitting below is damaged, see our sprinkler leak repair guide for what that repair involves.
5. Keep dirt out of the pipe
This step prevents most repeat problems. Cover the open fitting with a rag or bag while you work. Before installing the new head, briefly run the zone with the head off to flush any debris out of the line, standing clear of the opening.
6. Install the new head
Thread it on by hand until snug. Do not overtighten. Make sure it is vertical, not tilted.
7. Set the height
The top of the head should be level with the finished soil surface, so turf does not block the spray and mowers do not hit it. Adjust by adding or removing soil, or by repositioning the swing joint. See why sprinkler head height matters for more on getting the level right.
8. Install and adjust the nozzle
Set the arc and radius to match the area. Spray nozzles often have a radius adjustment screw; rotors have arc and radius settings specific to the brand.
9. Test before backfilling
Run the zone. Look for leaks at the connection, confirm the head rises fully, and check the spray pattern.
10. Backfill and replace the turf
Pack soil firmly around the head so it stays vertical, then replace the turf plug and water it in.
Common Mistakes
- Wrong pop-up height. Short heads in thick St. Augustine get buried by grass.
- Mixing nozzle types in one zone. This leaves some areas wet and others dry.
- Skipping the flush. Debris clogs the new nozzle and others downstream.
- Digging straight down over the pipe. Shovels crack PVC and cut poly lines.
- Leaving the head tilted. It sprays into the ground on one side and over the target on the other.
Preventing the Next Break
If the same heads keep breaking, look at the cause. Heads near driveways get run over; heads at bed edges get hit by edgers; heads set too high get clipped by mowers. Moving a head back from the edge, using a lower-profile model, or adding a protective collar can help. We cover more prevention in our troubleshooting resources, starting with the sprinkler troubleshooting guide.
When to Call a Pro
Call a professional if water bubbles from the ground near the head after you replace it, which suggests a broken fitting or lateral line; if several heads on a zone are broken; if the zone has low pressure even with new heads; or if you are not sure what head to buy for a mixed zone. In Huntsville and the rest of Walker County, we replace heads, repair fittings and lines, and rebalance zones so coverage is even. See our sprinkler repair page or our services page.
Frequently Asked Questions
Can I replace a spray head with a different brand?
Yes, as long as the threads, pop-up height, and nozzle performance match the rest of the zone. Mixing brands is less of a problem than mixing nozzle types.
Do I need Teflon tape on sprinkler head threads?
Follow the manufacturer’s guidance. Many plastic irrigation fittings seal without it. Overwrapping can crack fittings or prevent a proper seal.
Why is my new head leaking at the bottom?
The threads may be crossed, the fitting may be cracked, or the swing joint below may be damaged. Dig a little deeper and check the connection.
Need a Hand?
If a head replacement turned into a bigger problem, call 346-586-6060 or schedule a repair. We will finish the job and check the rest of the zone while we are there.